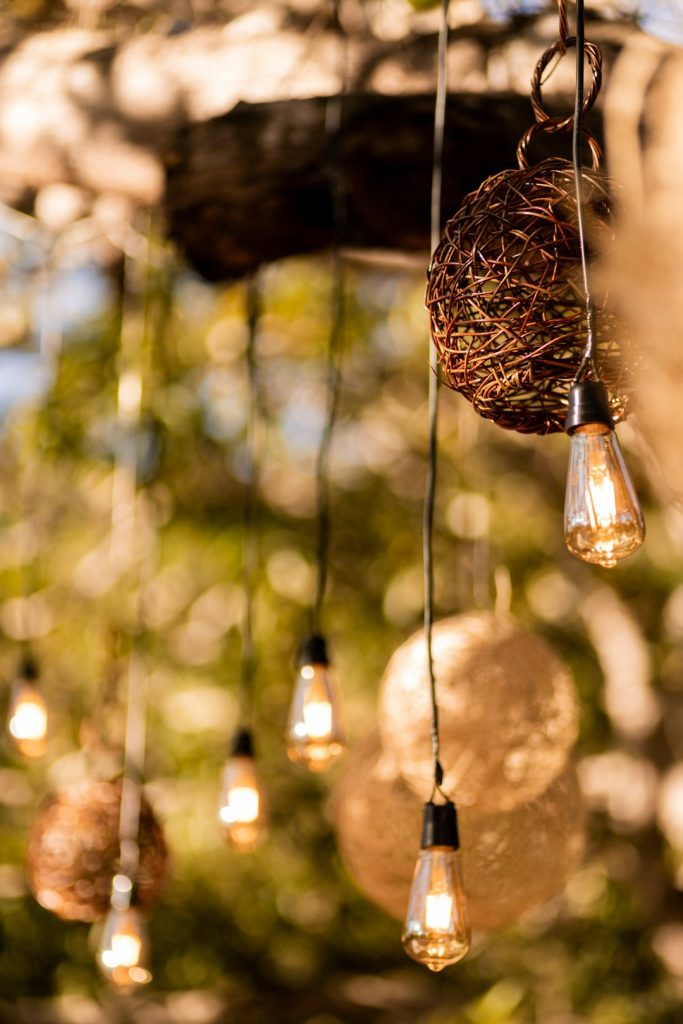
Are you looking to add a magical touch to your home or outdoor space? Imagine a beautiful decorative tree glowing softly with fairy lights, creating a cozy and enchanting atmosphere just for you.
Making your own decorative tree to hang fairy lights is easier than you think, and it’s a fun way to bring warmth and charm to any room. In this guide, you’ll discover simple steps to create a stunning piece that lights up your space and sparks joy every time you see it.
Ready to turn your creativity into glowing beauty? Let’s get started!
Materials Needed
Gathering the right materials is the first step to creating a stunning decorative tree that beautifully showcases your fairy lights. The quality and type of materials you choose will directly impact the overall look and durability of your project. Let’s break down what you need to get started and how to pick items that suit your style and space.
Choosing The Right Branches
Start by selecting branches that are sturdy yet visually interesting. Look for natural branches with unique shapes or gentle curves to add character. Dry, clean branches work best to avoid any mess or decay later on.
Think about the size of your space. Larger rooms can handle bigger branches, while smaller spaces benefit from delicate, thinner ones. Have you considered using driftwood or even painted branches to match your décor?
Selecting Fairy Lights
Pick fairy lights that complement the size and style of your branches. Warm white lights create a cozy ambiance, while colored lights add a playful touch. Battery-operated lights give you flexibility with placement and avoid messy cords.
Check the length of the light strand—too short, and it won’t wrap around your branches fully; too long, and it might look cluttered. How long do you want your tree to glow each night? This will help you decide on solar-powered versus plug-in options.
Additional Decorative Items
Consider adding small ornaments, ribbons, or beads to enhance the look. Natural elements like pinecones or dried flowers can create a rustic vibe. If you want a modern twist, metallic accents or glass baubles work well.
Don’t forget about the base—using a sturdy pot or a decorative container can anchor your tree and add stability. What personal touch will make your decorative tree truly yours?
Preparing The Branches
Select sturdy branches free from dirt and broken twigs. Trim any uneven ends to create a smooth, balanced shape. Arrange branches to form a natural tree structure ready for lights.
Creating a decorative tree to hang fairy lights can add a magical touch to any space. Preparing the branches is a crucial step in this enchanting project. The right preparation ensures your tree looks beautiful and supports the lights effectively. Let’s dive into the details of cleaning, trimming, shaping, and securing the base for your tree.Cleaning And Trimming
First, gather your chosen branches. Ensure they are dry and free of any mold. Use a cloth to wipe off dirt and debris. This step is essential for a neat appearance. Trim any extra twigs or leaves using pruning shears. Focus on removing anything that might interfere with hanging lights. Neat branches create a polished look.Shaping The Branches
Think about the shape you desire for your tree. Arrange branches in a way that resembles a real tree structure. Bend or curve them gently to achieve a natural look. Use wire if needed to hold them in place. Make sure the branches are evenly spaced. This helps in distributing the fairy lights uniformly.Securing The Base
Stability is key for your decorative tree. Choose a sturdy container or pot as the base. Fill it with sand, stones, or soil to anchor the branches. Ensure the base is heavy enough to prevent tipping. Insert the branches firmly into the base. Double-check their stability by giving them a slight shake. A secure base keeps your tree upright and safe.Arranging The Branches
Arranging the branches is a key part of making your decorative tree stand out. This step shapes the overall look and helps the fairy lights shine beautifully. Proper branch arrangement creates a natural feel and gives space for the lights to spread evenly.
Creating A Balanced Structure
Start by choosing branches of different lengths. Place the longest branches at the bottom for a solid base. Shorter branches go near the top to keep the shape neat. Spread branches evenly around the tree for a full look. Check from all sides to avoid empty spots.
Attaching Branches Together
Use strong wire or twine to join branches firmly. Wrap the wire tightly where branches meet but avoid breaking them. Overlap branches slightly to hide the wire and create a seamless look. Secure each connection point well to hold the shape.
Ensuring Stability
Make sure the base branches support the whole tree weight. Tighten wires or twine to prevent wobbling. Test the tree by gently shaking it. Add extra support if any branch feels loose. Stability keeps your fairy light tree safe and beautiful.

Credit: bigstarlights.com
Installing The Fairy Lights
Installing the fairy lights on your decorative tree is where your creativity truly shines. This step transforms a simple structure into a glowing centerpiece that captivates any space. Paying attention to how and where you place the lights will impact the overall look and safety of your display.
Choosing Light Placement
Start by deciding which parts of your tree should glow the most. Highlight the thicker branches to create a balanced brightness that draws the eye naturally.
Think about the tree’s shape—do you want the lights evenly spread or focused on certain areas? Consider wrapping the trunk and major limbs for a solid light base, then scatter lights on smaller branches for a twinkling effect.
Ask yourself: does the placement invite people to look closer or walk around the tree? This helps ensure your design feels intentional and inviting.
Wrapping Techniques
Hold the lights loosely while wrapping to avoid damaging the wires or bulbs. Start from the base of the trunk and work your way up in a spiral motion for a neat appearance.
For a fuller look, loop the lights around smaller branches multiple times. You can also weave the strings in and out to add depth and prevent the lights from looking flat.
Try different wrapping styles on a small branch first. This practice helps you find the right tension and spacing before tackling the entire tree.
Power Source And Safety
Choose a power source that matches the length and type of your fairy lights. If your tree is outdoors, use weatherproof extension cords and outlets to avoid hazards.
Keep plugs and connectors off the ground to prevent water damage and tripping risks. Secure cords with clips or ties to keep everything tidy and safe.
Remember to test the lights before finalizing the installation. This simple check can save you time and frustration if any bulbs need replacing or if wiring adjustments are necessary.
Adding Decorative Touches
Adding decorative touches to your fairy light tree transforms it from simple to stunning. These details bring personality and charm, making the tree a true centerpiece. Think beyond just lights—small additions can create a magical, inviting atmosphere.
Incorporating Ornaments
Ornaments add shape and color to your tree. Choose lightweight pieces that won’t weigh down the branches or tangle with the lights. Try hanging mini lanterns, glass baubles, or even handmade paper stars to create a unique look.
Don’t hesitate to mix textures and sizes. Combining shiny and matte finishes can make your tree visually interesting. Have you tried using small photo frames or charms? These personal touches often spark conversations.
Using Natural Elements
Natural items bring warmth and an organic feel to your decorative tree. Pinecones, dried flowers, and twigs work beautifully alongside fairy lights. You can also add a few sprigs of eucalyptus or cinnamon sticks to introduce subtle fragrance.
Collecting these elements yourself adds a special story to your project. What local plants or items can you gather to give your tree a unique touch? This approach makes your decoration eco-friendly and budget-friendly too.
Color Coordination Tips
Choosing the right colors keeps your tree looking polished and balanced. Pick a main color and then add one or two complementary shades for contrast. For instance, soft white lights paired with silver and pale blue ornaments create a cool, elegant vibe.
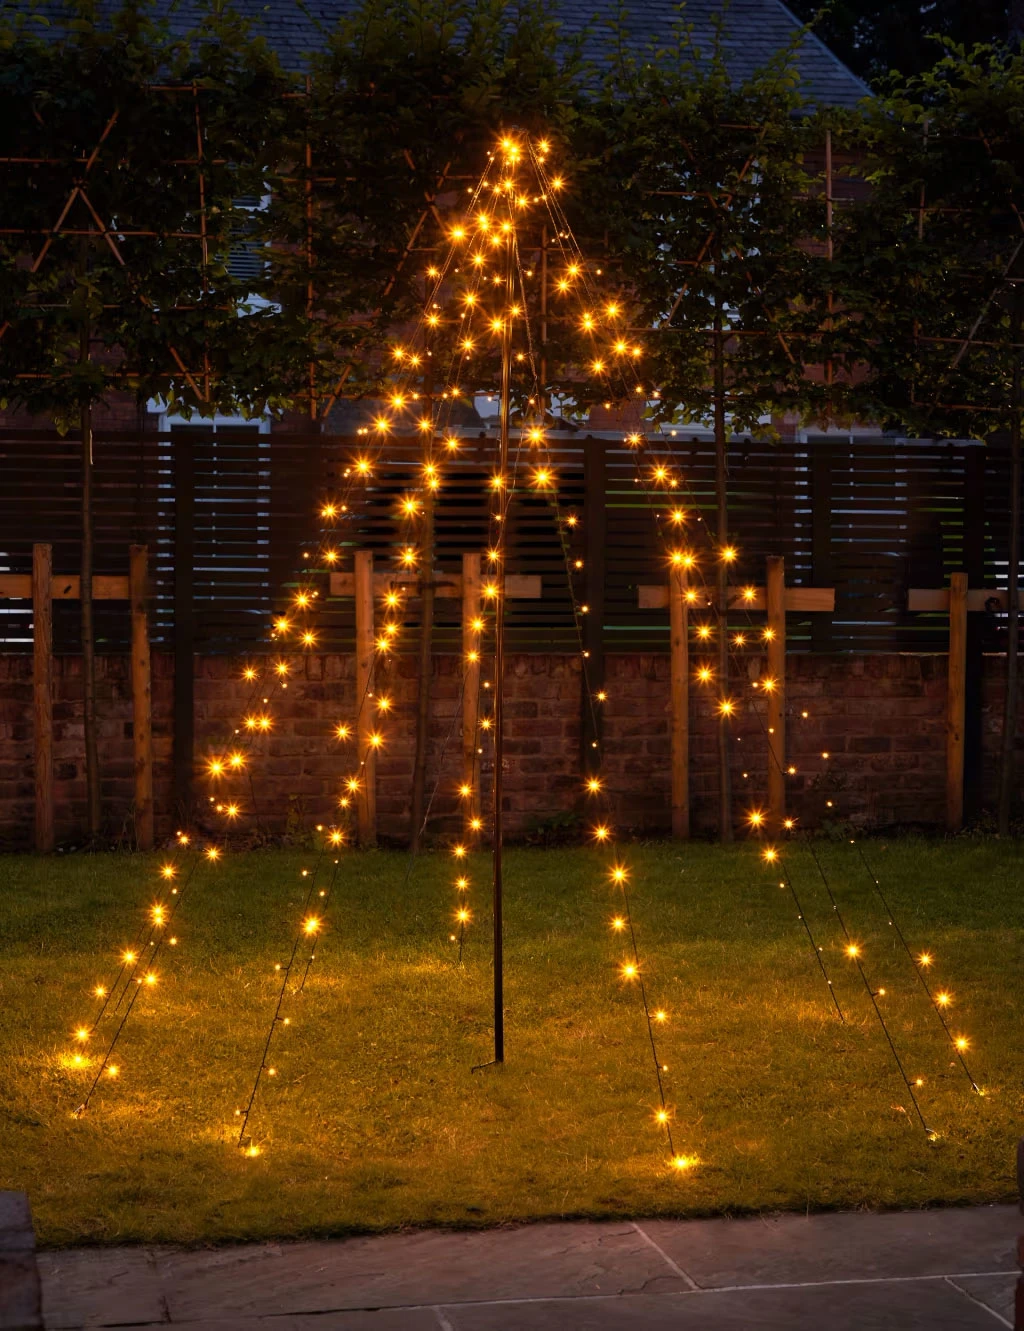
If you prefer something bold, try pairing warm amber lights with red and gold accents. Avoid using too many colors, as it can make the tree look cluttered. What color story do you want your tree to tell? Let that guide your choices.
Credit: www.marksandspencer.com
Hanging The Decorative Tree
Hanging the decorative tree is an essential step to showcase your fairy lights beautifully. The right placement and secure mounting ensure your tree stays safe and bright. Think about the space and conditions where you want your tree to glow. Proper hanging helps create a stunning light display and keeps the setup stable for longer use.
Choosing The Right Location
Select a spot with good visibility and enough space around. Avoid crowded areas to let the tree stand out. Consider lighting conditions; dimmer areas highlight fairy lights better. Check for nearby power outlets for easy access. Ensure the surface can support the tree’s weight safely.
Mounting Methods
Choose a mounting method that fits your tree size and location. Hooks and wall anchors work well for indoor trees. Use strong nails or screws for heavier decorative trees. Hanging chains add flexibility and style to the setup. Command strips can hold lightweight trees without wall damage.
Securing For Outdoor Use
Outdoor hanging needs extra care against wind and rain. Use weatherproof hooks and anchors for durability. Tie the tree securely with nylon cords or wire to prevent movement. Cover the power connection with waterproof covers to avoid damage. Check the setup regularly to maintain safety and appearance.
Maintenance And Care
Taking care of your decorative tree with fairy lights ensures it stays beautiful and functional for many seasons. Maintenance doesn’t have to be complicated. Simple habits can extend the life of your creation and keep it glowing bright.
Cleaning The Tree
Dust and dirt can dull your tree’s appearance and affect the lights. Use a soft cloth or a gentle brush to clean the branches regularly. Avoid harsh chemicals; a mild soap solution works well if needed.
Be careful around the light bulbs and wiring to prevent damage. Have you noticed how a quick dusting can instantly refresh the whole look? Making this a habit saves you from bigger cleaning jobs later.
Replacing Lights
Lights can burn out or get damaged over time. Keep extra fairy lights on hand that match your tree’s style and color temperature. This way, you can replace bulbs or strands without changing the overall vibe.
Before replacing, unplug the lights and check the wiring carefully. How often do you inspect your lights for wear and tear? Regular checks help avoid unexpected outages.
Storage Tips
Proper storage protects your tree and lights when not in use. Wrap the fairy lights loosely around a spool or cardboard to avoid tangling. Store the tree in a cool, dry place to prevent moisture damage.
Consider using a sturdy box with padding to keep delicate parts safe. Have you thought about labeling your storage containers? It saves time and keeps your decorations organized year after year.

Credit: food52.com
Frequently Asked Questions
What Materials Are Needed For A Decorative Fairy Light Tree?
You need branches or wire, a sturdy base, fairy lights, floral tape, and optional paint or decorations. These materials create a stable, attractive tree for hanging lights indoors or outdoors.
How Do I Make The Tree Base Sturdy?
Use a heavy pot filled with cement or stones to anchor the tree. This prevents tipping and supports the weight of lights and decorations.
Can I Use Battery-operated Fairy Lights?
Yes, battery-operated lights are ideal for portability and safety. They eliminate the need for nearby power outlets and reduce wire clutter.
How Do I Arrange Fairy Lights On The Tree?
Wrap the lights evenly around branches, starting from the base to the top. Secure with floral tape or twist ties to keep them in place.
Conclusion
Creating a decorative tree to hang fairy lights is fun and simple. Use basic materials and your own style. This project brightens any room with soft, warm light. It adds charm and a cozy feel to your space. Try different shapes and light colors to match your taste.
Enjoy the glow and the calm it brings. Make your home shine with this easy, creative idea. Keep experimenting and have fun with your decorative tree.