
Are you ready to add a cozy, festive touch to your bathroom this fall? Pumpkin decorations aren’t just for the living room or front porch—they can transform your bathroom into a warm, inviting space too.
Imagine stepping into your bathroom and feeling the charm of autumn all around you. In this guide, you’ll discover simple, creative ways to make bathroom pumpkin decorations that fit perfectly in small spaces. Whether you’re a DIY beginner or looking for quick ideas, you’ll find easy steps that bring that pumpkin glow right to your bathroom.
Keep reading to find out how you can create these charming decorations and impress anyone who visits your home!
Choosing Bathroom-safe Pumpkins
Choosing the right pumpkins for bathroom decoration requires careful thought. Bathrooms have different conditions than other rooms. Moisture and limited space affect pumpkin choices. Selecting bathroom-safe pumpkins ensures they last longer and stay fresh. It also keeps the bathroom clean and pleasant. Consider pumpkin types, sizes, and colors suited for bathroom use.
Selecting Real Vs. Faux Pumpkins
Real pumpkins bring natural charm and scent. They can rot quickly in humid bathrooms. Mold and soft spots may develop fast. Real pumpkins need proper ventilation and dry surfaces. Faux pumpkins last longer and resist moisture. They come in various materials like plastic, foam, or ceramic. Cleaning faux pumpkins is easier and safer. Choose faux pumpkins for low maintenance and durability.
Size And Color Tips
Small pumpkins fit better in tight bathroom spaces. Large pumpkins may crowd sinks or shelves. Choose sizes that balance decoration and function. Light-colored pumpkins brighten dark bathrooms. Orange and white pumpkins suit classic or modern themes. Mix colors for a vibrant look without overdoing. Avoid dark colors that make the bathroom look smaller.
Basic Tools And Materials
Creating pumpkin decorations for your bathroom is fun and easy. Having the right tools and materials helps you work smoothly. It saves time and gives better results. Prepare these basics before starting your project.
Essential Craft Supplies
- Small artificial pumpkins or foam pumpkins
- Acrylic paints in fall colors (orange, white, black, brown)
- Paintbrushes in various sizes
- Hot glue gun with glue sticks
- Scissors and craft knives
- Decorative ribbons, twine, or faux leaves
- Sealant spray for protection
- Paper towels or cloth for cleaning
Safety Precautions
Use scissors and craft knives carefully to avoid cuts. Always cut away from your body. Keep hot glue guns on a safe surface and handle them with care. Work in a well-ventilated area if using spray sealants. Keep small items away from children and pets. Wear old clothes or aprons to protect your outfit from paint stains.
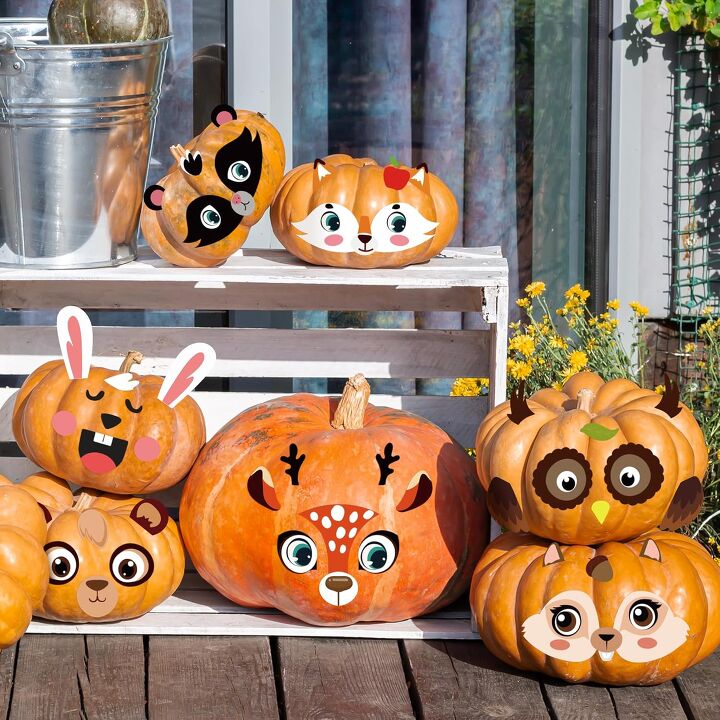
Simple Painted Pumpkin Designs
Transforming ordinary pumpkins into bathroom decorations is easy and fun. Simple painted pumpkin designs can add a unique touch to your bathroom. They bring seasonal charm without overwhelming the space. You can personalize your pumpkins to match the decor. Painting pumpkins allows for creativity and endless possibilities.
Using Waterproof Paints
Waterproof paints are ideal for bathroom pumpkin decorations. They protect your designs from moisture. Choose paints specifically designed for outdoor use. These paints resist humidity and water splashes. Acrylic-based options work well too. They dry quickly and maintain vibrant colors.
Patterns And Themes For Bathrooms
Patterns enhance the beauty of painted pumpkins. Consider stripes, dots, or floral designs. They add visual interest and complement bathroom decor. Choose themes that match your bathroom style. Coastal patterns work well in beach-themed bathrooms. Minimalistic designs suit modern spaces. Keep your designs simple for an elegant look.

Credit: www.instagram.com
Pumpkin Planters For Bathroom Plants
Pumpkin planters make a charming and seasonal addition to any bathroom. Using pumpkins as natural pots adds warmth and a festive look. These planters fit well in humid spaces and bring a splash of autumn inside. Creating them is simple and fun. The key lies in choosing the right pumpkin and plant combination for lasting beauty.
Hollowing And Preparing Pumpkins
Start by selecting a pumpkin with a flat base for stability. Cut off the top around the stem to create an opening. Scoop out all seeds and pulp until the inside is clean and smooth. This step prevents mold and keeps plants healthy.
Next, carve drainage holes at the pumpkin’s bottom. This avoids water buildup that harms roots. Line the inside with plastic wrap or a small pot to protect the pumpkin’s flesh. Fill the planter with potting soil suited for indoor plants.
Best Plants For Humid Spaces
Bathrooms usually have higher humidity, which some plants love. Choose species that thrive in moist air and low light. Here are some great options:
- Spider Plant – Tolerates humidity and grows well indoors
- Peace Lily – Prefers shade and moist soil
- Boston Fern – Enjoys damp environments and indirect light
- Orchids – Adapt well to warm, humid places
These plants add greenery and freshness to your pumpkin planter. Their care needs match bathroom conditions, making them perfect choices.
Pumpkin Soap Holders And Accessories
Pumpkin soap holders and accessories bring a cozy, seasonal charm to your bathroom without much effort. These small touches can brighten up your space and create a warm, festive vibe. They are not just decorative but can be practical, making your bathroom feel both inviting and organized.
Carving Small Holders
Start by selecting a small pumpkin that fits comfortably on your bathroom counter. Cut the top off and hollow it out carefully, removing all seeds and pulp. Make sure the opening is wide enough to hold your soap bar or even a small bottle of liquid soap.
Carving a simple, smooth cavity inside the pumpkin helps prevent soap residue from sticking too much. You might want to place a small dish or liner inside the pumpkin to keep it clean longer. Have you tried carving a face or pattern on the pumpkin? It adds a personal touch and makes the holder stand out.
Adding Functional Elements
Think beyond just holding soap; you can add practical features to your pumpkin accessories. Attach a small hook or suction cup on the side to hang a washcloth or loofah. You can also place a small drainage platform inside so water doesn’t pool and soften the soap prematurely.
Use waterproof sealant spray on the pumpkin’s outer surface to extend its life. This simple step keeps your pumpkin looking fresh and prevents it from rotting too quickly. What functional twist could you add to make your pumpkin accessory uniquely yours?
Credit: www.hometalk.com
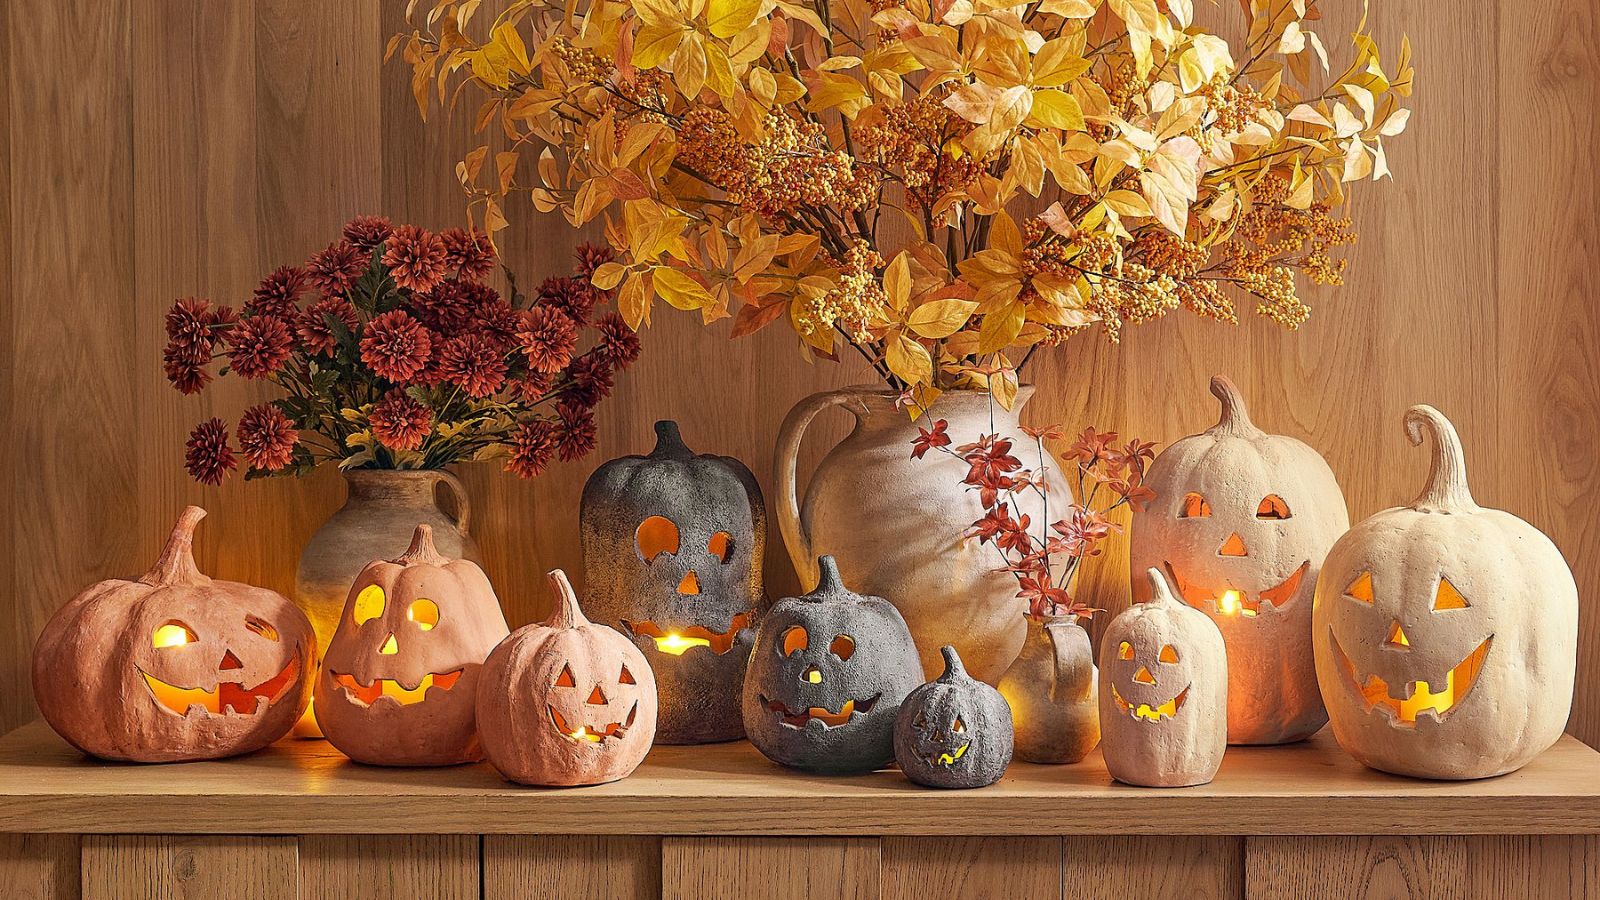
Creative Pumpkin Scent Diffusers
Creative pumpkin scent diffusers bring a warm and inviting aroma to your bathroom while doubling as charming decorations. They transform ordinary pumpkins into natural fragrance sources, filling your space with seasonal scents. You don’t need fancy tools or expensive products to make these delightful diffusers yourself.
Diy Pumpkin Potpourri
Start by hollowing out a small pumpkin, just like you would for a pumpkin bowl. Instead of carving a face, fill it with a mix of dried spices and botanicals.
- Cinnamon sticks
- Cloves
- Dried orange slices
- Star anise
- Bay leaves
Place the potpourri inside the pumpkin and leave it open to let the scent escape naturally. You can refresh the smell by adding a few drops of water or a little essential oil to the mix. This creates a subtle, natural fragrance without overwhelming your bathroom.
Using Essential Oils
Essential oils let you customize your pumpkin scent diffuser with your favorite smells. After hollowing out the pumpkin, soak cotton balls or felt pads with oils like pumpkin spice, cinnamon, or vanilla.
Place these inside the pumpkin, and the scent will slowly diffuse into the air. To make the fragrance last longer, you can poke small holes in the pumpkin or leave the top slightly ajar. This method lets you control intensity and swap scents easily, perfect if you like changing aromas seasonally.
Have you ever thought about how scent impacts your mood during your bathroom routine? Using pumpkin scent diffusers is a simple way to add comfort and style to your space without clutter or harsh chemicals.
Maintaining Your Bathroom Pumpkin Decor
Keeping your bathroom pumpkin decorations fresh and inviting requires a little care. Bathrooms have moisture and temperature changes that can affect your pumpkin’s look and lifespan. Paying attention to maintenance will let you enjoy your festive decor longer without constant replacement.
Cleaning Tips
Dust and moisture can dull your pumpkin’s appearance quickly. Wipe your decorations gently with a soft, dry cloth to remove dust. Avoid using water or harsh cleaners, as they can damage painted or delicate surfaces.
If your pumpkin has a glossy finish, a microfiber cloth works best to keep that shine. For fabric or natural pumpkins, a quick vacuum with a soft brush attachment can lift dust without harm. Do you find cleaning your decor relaxing or a chore? A simple routine can make it feel less like a task.
Extending Pumpkin Lifespan
Humidity is the enemy of pumpkins in the bathroom. Placing your pumpkin away from direct water splashes or steam can prevent early decay. A well-ventilated bathroom helps reduce moisture buildup around your decorations.
Consider using artificial pumpkins if you want long-lasting decor with minimal upkeep. For real pumpkins, applying a thin layer of clear acrylic spray can slow down deterioration. Have you tried adding essential oils nearby? Scents like cinnamon or clove not only enhance the mood but may also help repel pests that damage your pumpkin.
Credit: www.homesandgardens.com
Frequently Asked Questions
How Can I Make Bathroom Pumpkin Decorations Easily?
Use small pumpkins or faux pumpkins. Paint or decorate them with waterproof materials. Add accents like ribbons or leaves for charm.
What Materials Are Best For Bathroom Pumpkin Crafts?
Choose water-resistant paints, faux pumpkins, adhesive hooks, and waterproof sealants. These materials withstand bathroom moisture and keep decorations intact.
How Do I Keep Pumpkin Decorations Mold-free In Bathrooms?
Use artificial pumpkins or thoroughly dry real ones before decorating. Avoid placing decorations near water sources to prevent mold growth.
Can I Use Real Pumpkins For Bathroom Decor?
Yes, but real pumpkins can rot quickly in humid bathrooms. Use mini pumpkins and remove them after a few days to avoid mess.
Conclusion
Creating bathroom pumpkin decorations is fun and simple. Choose pumpkins that fit your space well. Use paint, markers, or stickers to add style. Add small lights or natural elements for charm. These decorations bring warmth and a festive feel. Enjoy the process and make your bathroom cozy.
Try different ideas to find what you like best. Have fun decorating and celebrating the season!