
Your graduation cap is more than just a piece of your outfit—it’s your chance to shine and stand out in the crowd. Imagine adding a touch of light that makes your cap glow and captures everyone’s attention.
Decorating your graduation cap with lights isn’t just creative; it’s a fun way to express your personality and celebrate your achievement. If you want your cap to be unforgettable, keep reading. You’ll discover easy tips and ideas that anyone can follow to create a dazzling, light-up masterpiece that will have all eyes on you.

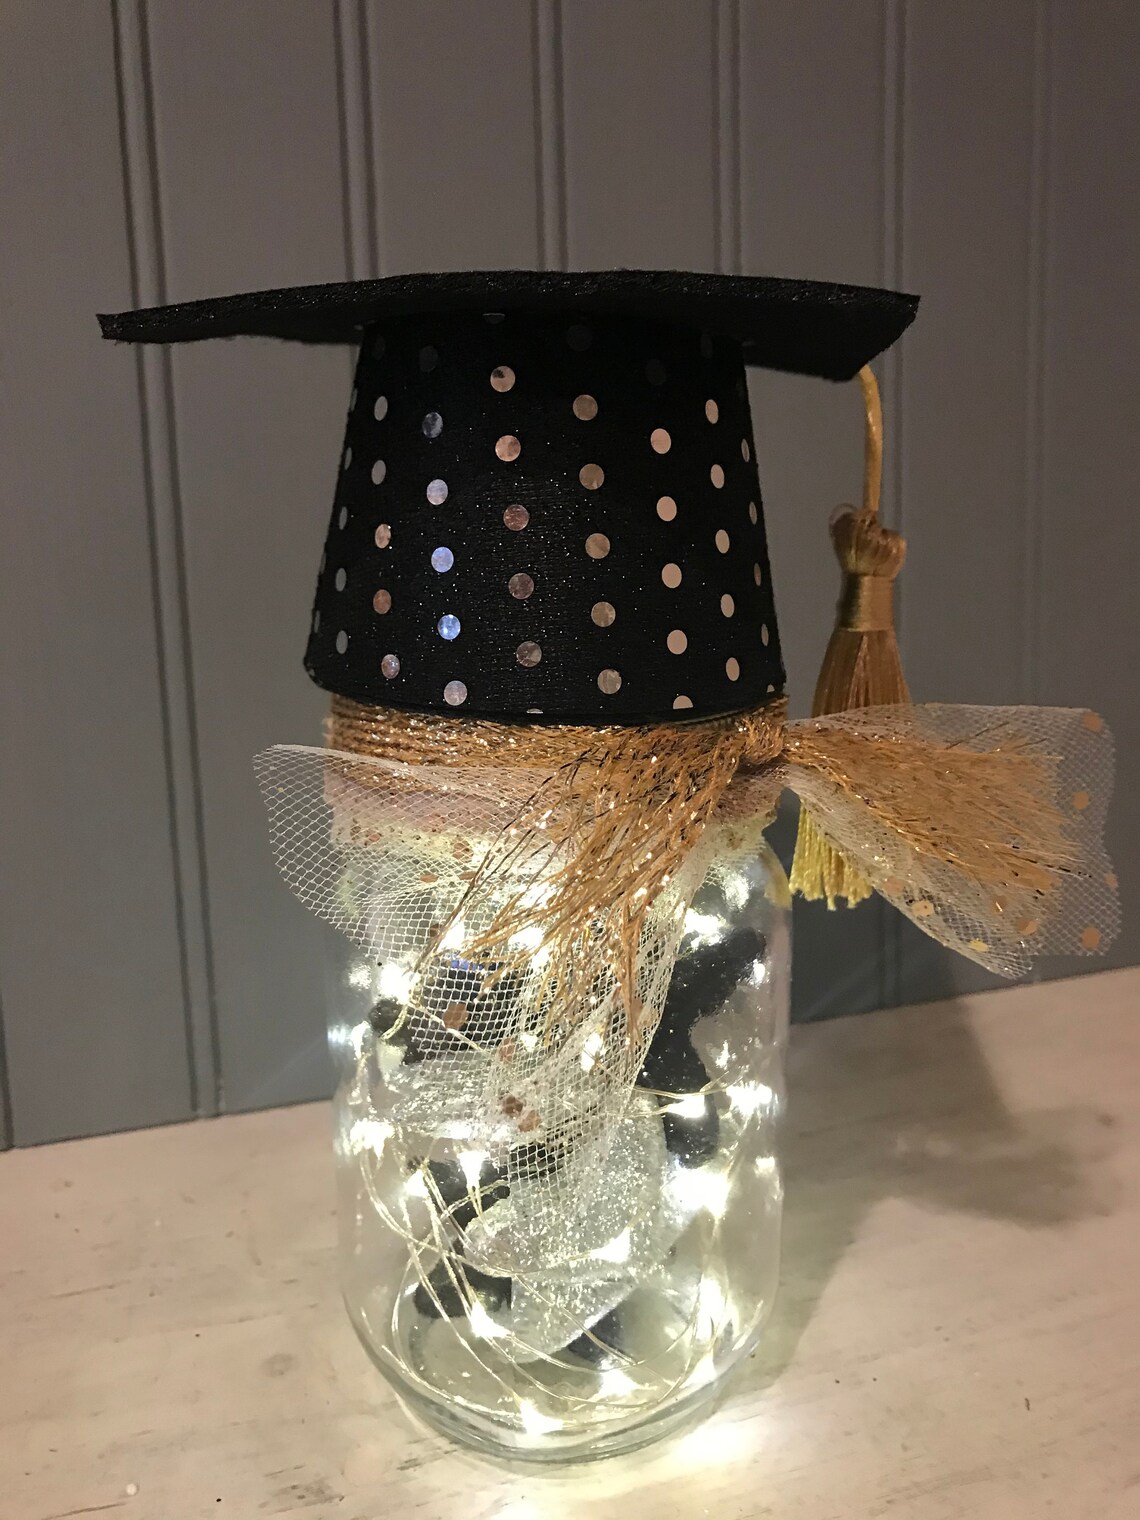
Credit: www.etsy.com
Choosing The Right Lights
Choosing the right lights for your graduation cap is a key step to make your design stand out. The lights you pick should match your style, be easy to use, and last through the ceremony. Think about how bright you want your cap to be and how much battery power you’ll need to keep it glowing without any hassle.
Types Of Lights For Caps
There are several light options to consider for your cap decoration. LED string lights are popular because they are thin, flexible, and easy to shape around your cap. Fairy lights offer a soft glow and can create a magical look, while small individual LED bulbs provide brighter, more focused light.
Some people use EL wire, which is a thin, glowing wire that’s very lightweight and perfect for outlining shapes. It’s worth testing a few types on your cap to see which feels best and looks great from a distance.
Battery Options And Safety
Battery choice affects how long your lights will shine. Most small LED lights run on coin cell batteries or AA/AAA batteries. Coin cells are lightweight and easy to hide, but they don’t last very long. AA or AAA batteries last longer but add more weight.
Make sure to secure the battery pack so it won’t move around or get damaged during walking or celebrating. Avoid rechargeable batteries unless you’re sure they are fully charged and safe. Always check the wiring for any exposed parts to prevent short circuits or discomfort.
Color And Brightness Choices
Color sets the mood for your cap and should complement your outfit or theme. Warm white lights give a classy, elegant look, while multicolor lights add fun and energy. Some lights even have settings to flash or change colors, which can catch attention but might be distracting.
Brightness matters too. Too dim, and your lights won’t show up in photos or under bright lights. Too bright, and they might bother your eyes or others around you. Test your lights in different lighting conditions before the big day to find the perfect balance.
Design Inspiration
Decorating a graduation cap with lights adds a unique glow to your celebration. Lights make your cap stand out in the crowd. They express your style and personality. Here are some ideas for design inspiration. Choose a style that fits your mood and message.
Classic And Elegant Styles
Simple and clean designs never go out of style. Use white or warm yellow LED lights for a soft glow. Pair lights with pearls, lace, or metallic accents for a classy look. Keep the layout balanced and neat. A subtle shine adds charm without being too flashy.
Fun And Playful Themes
Bright, colorful lights create a joyful vibe. Use multicolor LEDs or fairy lights to add energy. Think about your favorite hobbies, movies, or cartoons. Add small decorations like stars, emojis, or symbols. Playful themes show your fun side and bring smiles.
Personalized Messages And Quotes
Lights can highlight words that inspire you. Write your favorite quote or a special message with LED strips. Choose a font style that fits your personality. Use contrasting colors to make the text clear and readable. Personalized messages make your cap meaningful and memorable.
Materials And Tools Needed
Decorating your graduation cap with lights can make your celebration truly stand out. To create a dazzling effect, you need the right materials and tools at hand. Gathering these beforehand saves time and ensures your design turns out exactly how you imagine.
Light Strips And Fairy Lights
Choosing the right type of lights is crucial. LED light strips offer bright, even lighting and are easy to cut to size. Fairy lights, on the other hand, provide a whimsical sparkle that’s perfect for delicate designs.
Consider battery-operated options to avoid messy cords. Have you thought about how long your lights need to last during the ceremony? Picking lights with a long battery life can keep your cap glowing without interruptions.
Adhesives And Fasteners
Strong adhesives will keep your lights secure throughout the day. Double-sided tape and hot glue are popular choices because they hold well without damaging your cap. If you want a less permanent option, try small clips or clear tape to attach lights gently.
Do you want your cap to be reusable with different decorations? Then choose adhesives that peel off easily, so you don’t ruin your cap for future use.
Additional Decorative Elements
Lights alone look fantastic, but adding extra decorations can elevate your design. Think about using glitter, rhinestones, or stickers to complement the glow. These elements catch the light and add texture to your cap.
Have some fun with personalization by including your graduation year or a favorite quote. Simple craft supplies like colored paper or fabric can help turn your cap into a unique masterpiece.
Step-by-step Decoration Process
Choose lightweight string lights and secure battery pack to avoid discomfort. Arrange the lights evenly on the cap, then use glue or tape to fix them gently. Test the lights to ensure they work well before the big day.
Decorating your graduation cap with lights can make your big day shine. This step-by-step guide will help you create a cap that dazzles. Each stage ensures your cap is both stunning and functional. Follow these steps to transform your cap into a memorable keepsake.Preparing The Cap Surface
Start by cleaning the cap surface gently. Remove any dust or particles using a soft cloth. Ensure the surface is dry and smooth for better adhesion. Consider sketching your design lightly with a pencil. This helps you visualize the placement of lights. Avoid using permanent markers at this stage. They can create unwanted stains.Attaching Lights Securely
Select battery-operated LED lights for safety and convenience. Cut small pieces of double-sided tape or use adhesive dots. Place them on the back of the lights carefully. Attach the lights following your sketched design. Press firmly to secure the lights in place. Make sure wires are neatly tucked under the cap. Avoid any loose ends that may snag.Testing And Adjusting Lighting
Turn on the lights to test their brightness. Adjust the angle and position for optimal shine. Ensure the battery pack is accessible but hidden. Check for any flickering or dimming issues. If needed, replace batteries or adjust connections. Admire your creation and make any final tweaks. Ensure the lights enhance your design beautifully.Safety Tips For Lighted Caps
Adding lights to your graduation cap can make your celebration truly shine. However, safety should be your top priority to avoid any mishaps during the big day. Here are some essential safety tips to keep your lighted cap both stunning and secure.
Avoiding Overheating
Lights that get too hot can cause discomfort or even damage your cap. Choose LED lights, as they produce minimal heat compared to traditional bulbs. Always test your setup for at least 15 minutes before wearing it to spot any signs of overheating.
Keep wires and batteries away from your scalp to prevent burns. If you notice any warmth, switch off the lights immediately. Are you willing to sacrifice comfort for brightness? Finding the right balance is key to a great experience.
Ensuring Electrical Safety
Use battery packs with secure enclosures to avoid short circuits. Avoid using loose wires or exposed connections, as they can cause sparks. Double-check all connections before your event to ensure nothing is loose or frayed.
Choose lightweight batteries like coin cells or AA batteries with low voltage. If you’re unsure about wiring, seek help from someone experienced or watch tutorials. Remember, a safe cap is a fun cap—don’t risk your celebration for a quick fix.
Comfort And Wearability
Adding lights and batteries can make your cap heavier and less comfortable. Spread out the weight evenly to avoid strain on your head. Use adhesive strips or lightweight glue to secure components without damaging the cap’s fabric.
Test the cap for fit and comfort before the ceremony. Ask yourself: can you wear it for hours without adjusting? If not, reconsider your design to keep your focus on the moment, not your cap.
Maintenance And Troubleshooting
Maintaining your graduation cap lights ensures they stay bright and reliable. Small issues can stop the lights from working. Quick checks and care keep your decoration shining during the big day. Below are key tips for battery care, connection fixes, and cleaning.
Replacing Batteries
Batteries power your cap lights. Use fresh, high-quality batteries for best results. Remove old batteries carefully. Insert new ones matching the correct size and polarity. Test the lights before the event. Carry spare batteries for backup.
Fixing Loose Connections
Loose wires cause flickering or no light. Gently check all wire joints and connections. Use small tape pieces to secure loose wires. Avoid pulling or bending wires too much. A steady connection ensures consistent light output.
Cleaning And Storage
Clean your cap and lights with a soft, dry cloth. Avoid water or harsh cleaners that damage electronics. Store the decorated cap in a cool, dry place. Keep it away from heavy objects to prevent damage. Proper storage extends the life of your lights.
Showcasing Your Lighted Cap
Showing off your lighted graduation cap is a fun way to celebrate your achievement. It catches eyes and adds a personal touch to your special day. Proper showcasing makes your cap stand out in photos and memories.
Plan how to display the lights clearly. Make sure the lights stay bright and secure. Think about the environment, like indoor or outdoor lighting, to maximize the glow effect.
Photography Tips
- Use natural light or soft backgrounds for best results.
- Take pictures at dusk or in dim light to highlight the lights.
- Use a steady hand or tripod to avoid blurry photos.
- Focus closely on the cap to capture detail.
- Try different angles to find the most flattering shot.
Wearing Tips For Graduation Day
- Check that the lights are firmly attached before wearing.
- Keep the battery pack hidden but accessible.
- Wear the cap comfortably without blocking your vision.
- Avoid touching the lights to prevent damage.
- Test the lights before the ceremony to ensure they work.
Sharing On Social Media
- Post your photos with clear, bright images of the cap.
- Use simple captions to explain your design and lights.
- Share stories or videos showing the lights in action.
- Engage with friends by asking their opinions on your design.
- Tag your school or graduation event to join the conversation.
Credit: cocofacil.com
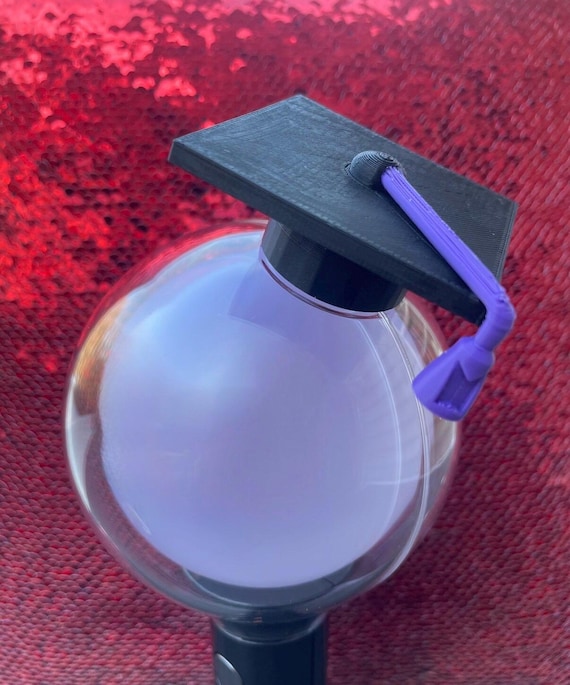
Credit: www.etsy.com
Frequently Asked Questions
How Do I Add Lights To A Graduation Cap?
Use battery-operated LED string lights to decorate your cap. Secure them with glue or tape. Choose lightweight options to avoid discomfort.
What Types Of Lights Work Best For Graduation Caps?
Battery-powered LED fairy lights are ideal. They are lightweight, safe, and come in various colors. Avoid heavy or wired lights for comfort.
How Can I Power The Lights On My Graduation Cap?
Use small, portable battery packs hidden under the cap. Ensure easy access to switch lights on and off. Avoid bulky power sources.
Are There Safety Tips For Decorating With Lights?
Yes, use low-heat LED lights only. Avoid exposed wires or batteries. Secure all components firmly to prevent falls or injuries.
Conclusion
Decorating your graduation cap with lights adds a fun, bright touch. It helps you stand out in the crowd. Use simple materials and your creativity to shine. Choose colors and designs that show your personality. Take time to plan and place the lights carefully.
Your glowing cap will make memories last longer. Celebrate your achievement with a unique, sparkling style. This small effort makes a big impression on your big day. Enjoy the moment and let your light shine!