Have you ever looked at your plain lighter and wished it reflected your style? Decorating a lighter with nail polish is a simple, fun way to turn an everyday item into a unique accessory.
You don’t need special tools or skills—just a bit of creativity and some nail polish colors. In this post, you’ll discover easy steps to transform your lighter into a colorful, eye-catching piece that stands out. Ready to make your lighter truly yours?
Let’s dive in!

Credit: www.tiktok.com
Choosing The Right Lighter
Choosing the right lighter is key to a successful nail polish decoration. Not all lighters work well with nail polish. Some surfaces hold the polish better. Others might peel or smudge easily. Picking the right lighter saves time and effort. It also ensures your design lasts longer.
Consider the lighter’s material and shape. Some materials absorb polish better. The shape affects how easy it is to paint details. Think about how you want your finished lighter to look and feel.
Types Of Lighters Suitable For Decoration
- Metal Lighters:Smooth and durable, perfect for detailed designs.
- Plastic Lighters:Lightweight and common, but surface can be tricky to paint.
- Refillable Lighters:Often metal, good for long-term use and decoration.
- Disposable Lighters:Usually plastic, inexpensive, but designs may wear off faster.
Preparing The Lighter Surface
Clean the lighter to remove oils and dirt. Use rubbing alcohol on a cotton ball. Wipe the surface gently and let it dry completely.
Lightly sand rough plastic surfaces with fine sandpaper. This helps polish stick better. Avoid sanding metal lighters unless they have a coating.
Remove any stickers or labels carefully. Smooth surfaces hold paint best. Avoid touching the cleaned area with oily hands.
Selecting Nail Polish Colors
Decorating your lighter with nail polish is a fun and creative way to personalize an everyday item. The key to making your lighter stand out is selecting the right nail polish colors. By choosing a combination that resonates with your style and personality, you can turn a simple lighter into a mini masterpiece. But how do you decide which colors work best together?
Popular Color Combinations
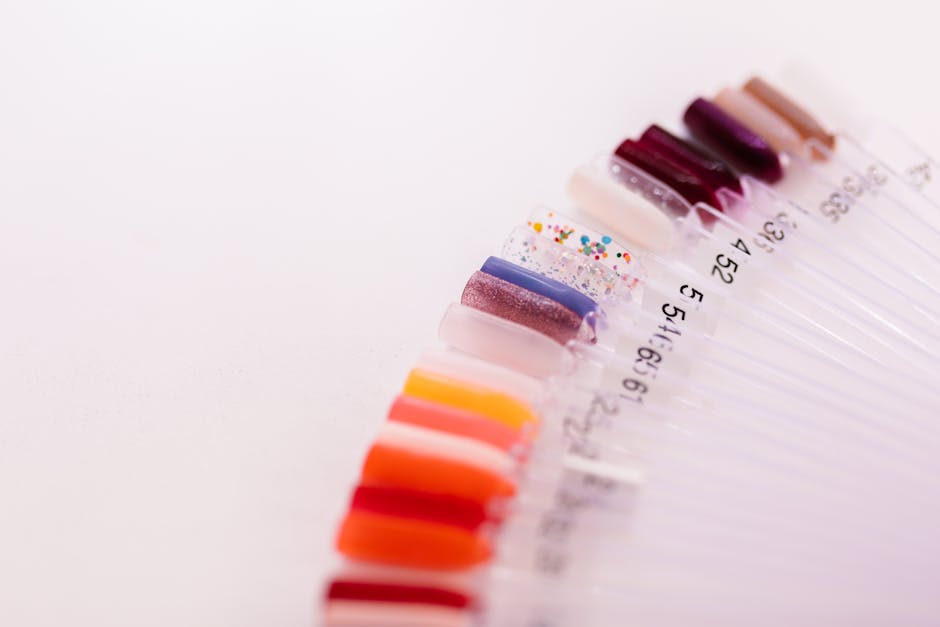
Start by thinking about color combinations that appeal to you. Do you love the classic look of black and white? This timeless duo can make your lighter look sleek and sophisticated. If you’re feeling adventurous, try combining vibrant colors like teal and coral for a tropical vibe. Pastel shades like lavender and mint are perfect for a soft, dreamy look.
Consider the mood you want to convey. Bright, bold colors might energize you, while softer hues can be calming. Sometimes, the best combinations come from unexpected pairings. Mixing warm and cool tones can create a striking contrast that captures attention. What colors make you feel inspired?
Using Metallic And Glitter Polishes
Metallic and glitter nail polishes add an extra layer of pizzazz to your lighter. These types of polishes can make your design sparkle and shine, especially under light. Silver and gold are classic choices that work with nearly any color combination. They add a touch of elegance and can make your lighter look luxurious.
For a bold statement, try glitter polishes. They come in a variety of colors, allowing you to create a dazzling effect. Layering glitter over a solid color can give depth and texture to your design. Remember, a little glitter goes a long way, so use it strategically to highlight specific areas.
Think about the occasions you use your lighter. Is it for everyday use or special events? Metallic and glitter can make your lighter feel festive, turning it into a conversation starter. Which finish aligns best with your personal style?
Basic Nail Polish Techniques
Mastering basic nail polish techniques is key to turning a plain lighter into a unique piece of art. These simple skills help you control the polish and create neat, eye-catching designs. Whether you want a bold single color or fun patterns, understanding these basics sets the foundation for creativity.
Solid Color Application
Applying a solid color might seem easy, but a smooth, even coat takes some practice. Start with a clean, dry lighter surface for the polish to stick well. Use thin, steady strokes—begin in the middle and then cover the sides to avoid clumps.
Let each layer dry fully before adding the next to prevent smudging. Two to three thin coats usually give the best coverage and vibrant color. Have you noticed how a rushed single thick coat often peels off quickly? Taking your time makes a big difference.
Creating Stripes And Dots
Adding stripes or dots adds personality without needing fancy tools. You can use a thin brush, a toothpick, or even a bobby pin to make precise lines and dots. Steady your hand by resting it on a flat surface to avoid shaky patterns.
Try dipping your tool lightly into the polish and testing on paper first to control size and thickness. Don’t worry about perfect symmetry—quirky imperfections often make your design stand out. What simple pattern would you like to try first on your lighter?
Advanced Decoration Ideas
Ready to take your lighter decoration to the next level? Advanced decoration ideas with nail polish let you create unique and eye-catching designs that stand out. These techniques require a bit more patience and creativity, but the results can be truly impressive.
Marble Effect
The marble effect gives your lighter a sophisticated, swirling pattern that looks like real stone. Start by dropping different colors of nail polish into a cup of water, then swirl them gently with a toothpick. Dip your lighter carefully into the water to transfer the pattern onto its surface.
This technique can be messy at first, but it’s worth trying a few times to master the right swirl. You can mix classic colors like black and white or go bold with bright, contrasting shades. What color combos would best match your style?
Ombre Gradient
Creating an ombre gradient on your lighter adds a smooth color transition that’s visually stunning. Use a small makeup sponge to dab two or three shades of nail polish from light to dark across the lighter’s surface. Blend the edges carefully to avoid harsh lines.
Try using your favorite color palette or seasonal shades for a fresh look. The key is to work quickly before the polish dries, so your colors blend seamlessly. How would you customize an ombre gradient to reflect your personality?
Stamping And Stenciling
Stamping and stenciling let you add precise patterns and shapes that are hard to freehand. Use nail art stamping plates or simple stencils with your nail polish and a small brush or sponge. Press the design onto your lighter gently and let it dry before sealing with a clear topcoat.
This method is perfect for adding details like flowers, geometric shapes, or even your initials. It’s a great way to personalize your lighter without needing advanced painting skills. Which patterns or symbols would you like to try on your lighter?
Adding Details And Embellishments
Adding details and embellishments makes your lighter unique and eye-catching. Small touches can transform a simple design into a personal work of art. Use easy techniques to enhance your creation without much effort.
Details create texture and depth. Embellishments add sparkle and shine. Both help your lighter stand out in style.
Using Stickers And Decals
Stickers and decals offer quick decoration options. Choose waterproof or vinyl types for durability. They come in many shapes and themes, perfect for personalizing your lighter.
- Clean the lighter surface before applying stickers.
- Press firmly to avoid air bubbles.
- Seal with a clear top coat to protect the design.
These small additions look neat and last long. They can match your nail polish colors or create contrast.
Applying Rhinestones And Glitter
Rhinestones add sparkle and a 3D effect. Glitter brings shimmer and vibrant color. Both create a festive, decorative look for your lighter.
- Use nail glue or strong adhesive to fix rhinestones.
- Apply glitter over wet nail polish or clear glue.
- Seal with clear top coat to prevent peeling or shedding.
Arrange rhinestones in patterns or randomly for visual interest. Choose fine or chunky glitter to match your style. These details catch light and draw attention.
Sealing And Protecting Your Design
Sealing and protecting your nail polish design on a lighter is key to keeping it vibrant and long-lasting. Nail polish can chip or fade without a good seal. A strong protective layer shields your art from scratches, heat, and daily use.
Choosing the right top coat and proper drying help preserve your design’s beauty. These simple steps make your lighter look fresh and new for weeks.
Top Coats For Durability
Top coats add a shiny, hard layer over your nail polish. This layer prevents damage and water from touching the design.
- Glossy top coat:Gives a bright, shiny finish and protects from scratches.
- Matte top coat:Creates a smooth, non-shiny surface while protecting the polish.
- Quick-dry top coat:Dries fast and seals the design quickly for less smudging.
- Gel top coat:Lasts longer and offers strong resistance but needs curing under UV light.
Apply thin, even layers of top coat to avoid bubbles and streaks.
Drying And Curing Tips
Proper drying makes your design tough and chip-resistant. Let the polish dry fully before sealing it.
- Wait 10–15 minutes after the last nail polish layer before applying top coat.
- Apply top coat in one smooth stroke for best coverage.
- Air dry your lighter in a dust-free area to avoid particles sticking.
- For gel top coats, cure under a UV or LED lamp as instructed.
- Avoid touching or using the lighter for at least an hour after sealing.
Patience in drying and curing prevents smudges and peeling.
Safety Tips While Decorating
Decorating a lighter with nail polish is fun but requires care. Nail polish contains chemicals that can catch fire easily. It is important to take safety steps to avoid accidents and keep your space safe.
Handling Flammable Materials
Nail polish and lighter fluid are flammable. Keep them away from open flames or heat sources. Do not smoke while decorating. Store nail polish bottles tightly closed to prevent spills. Use only small amounts at a time. Avoid using too much polish near the lighter’s flame area.
Working In A Ventilated Area
Nail polish fumes can be strong and harmful. Work in a room with open windows or outside if possible. Use a fan to help air flow. Avoid breathing in the fumes for a long time. Take breaks and step outside for fresh air. This keeps you safe and comfortable during your project.

Credit: www.tiktok.com

Credit: www.tiktok.com
Frequently Asked Questions
How Do You Start Decorating A Lighter With Nail Polish?
Begin by cleaning the lighter’s surface thoroughly. Remove dirt and oils to ensure polish adheres well. Use rubbing alcohol for best results. Let it dry completely before applying nail polish designs.
What Nail Polish Types Work Best On Lighters?
Use regular or gel nail polish for vibrant, lasting colors. Matte, glitter, or metallic finishes add unique effects. Avoid water-based polishes as they may chip easily on metal surfaces.
How Can I Create Patterns On My Lighter?
Use fine brushes, dotting tools, or tape for stripes and shapes. Apply polish in thin layers to avoid smudging. Experiment with colors and designs for a custom look.
Is It Safe To Decorate A Lighter With Nail Polish?
Yes, if you keep polish away from the flame area. Avoid covering the ignition mechanism. Ensure polish is fully dry before using the lighter to prevent fumes.
Conclusion
Decorating a lighter with nail polish is simple and fun. You can create many colors and patterns. Just use a steady hand and let each coat dry well. Personalizing your lighter shows your style and creativity. It also makes a great gift for friends.
Try different designs to find what you like best. Keep your lighter safe while decorating. Enjoy the process and make your lighter unique today.