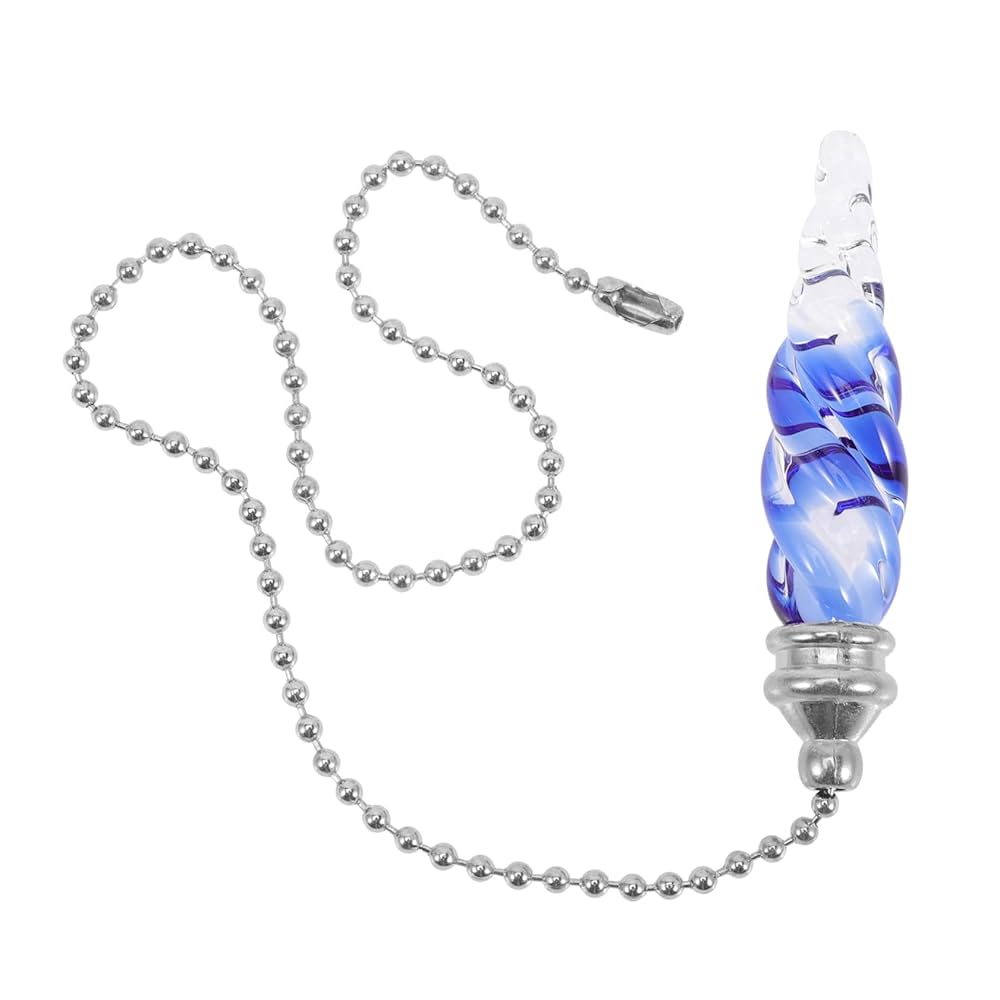
Looking to add a personal touch to your room’s lighting? Making a decorative pull chain for your overhead light is easier than you think—and it can instantly boost the style of any space.
Imagine reaching up and pulling a unique, eye-catching chain that reflects your taste and personality. In this guide, you’ll discover simple steps to create a pull chain that stands out and makes your everyday lighting feel special. Ready to transform your overhead light into a statement piece?
Let’s get started!
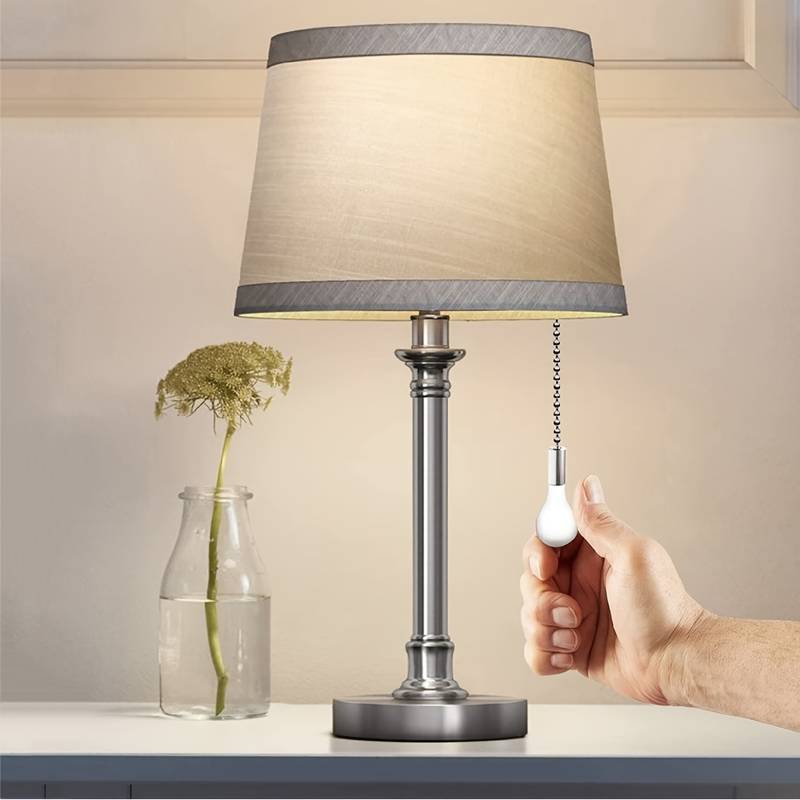
Credit: www.countryblossomfarm.com
Materials Needed
Gathering the right materials is the first step to crafting a decorative pull chain that not only functions well but also adds charm to your overhead light. The materials you choose will impact both the look and durability of your finished product. Are you ready to make a pull chain that stands out and lasts?
Choosing The Right Pull Chain
Start with a pull chain that fits your light fixture. Standard metal chains are durable and easy to work with, but you might want a nylon or beaded chain for a softer look. Think about the length and weight of the chain—too heavy can strain the switch, while too light might feel flimsy.
Consider how the chain feels in your hand. Is it smooth or textured? This small detail can make a big difference in daily use.
Selecting Decorative Elements
Decorative beads, charms, and pendants bring personality to your pull chain. Choose elements that match your room’s style—vintage glass beads for a classic look or colorful acrylic pieces for a modern twist. Don’t overlook the size; bulky decorations can get in the way, while tiny ones might be hard to grip.
Think about mixing materials like metal and wood to add contrast. Have you thought about personalizing your chain with initials or symbols that mean something to you?
Tools Required
Having the right tools makes the project smoother and safer. You’ll need pliers to open and close jump rings or attach beads, scissors for trimming cords, and a small screwdriver if your pull chain connects to a switch plate. A needle or thin wire can help thread beads onto the chain.
Don’t forget a workspace with good lighting to see small pieces clearly. Do you have a container to keep tiny parts organized? It can save you time and frustration.
Preparing The Pull Chain
Preparing the pull chain is a key part of creating a decorative pull chain for your overhead light. This step ensures the chain fits well and functions smoothly. Proper preparation helps avoid tangles and makes the chain easy to use. Focus on accurate measuring and secure connectors to finish the job professionally.
Measuring And Cutting
Start by measuring the length of your current pull chain. Use a tape measure to find the exact size needed. Add a little extra length to allow for attaching the decorative elements. Use strong scissors or wire cutters to cut the chain cleanly. A neat cut prevents the chain from fraying or breaking.
Attaching Connectors
Connectors link the pull chain to the light fixture and decorative parts. Choose connectors that match the chain’s size and style. Open the connector gently with pliers, slide the chain end inside, and close it firmly. Check the connection by pulling lightly to ensure it holds tight. Well-attached connectors keep the chain secure and easy to pull.
Adding Decorative Features
Adding decorative features to your pull chain can transform an ordinary overhead light into a centerpiece of creativity and style. Whether you lean towards sleek modern designs or prefer a touch of vintage charm, the opportunities to express your unique taste are endless. Imagine walking into a room and having your guests immediately drawn to your custom creation — a simple, yet impactful way to showcase your personality.
Beads And Charms
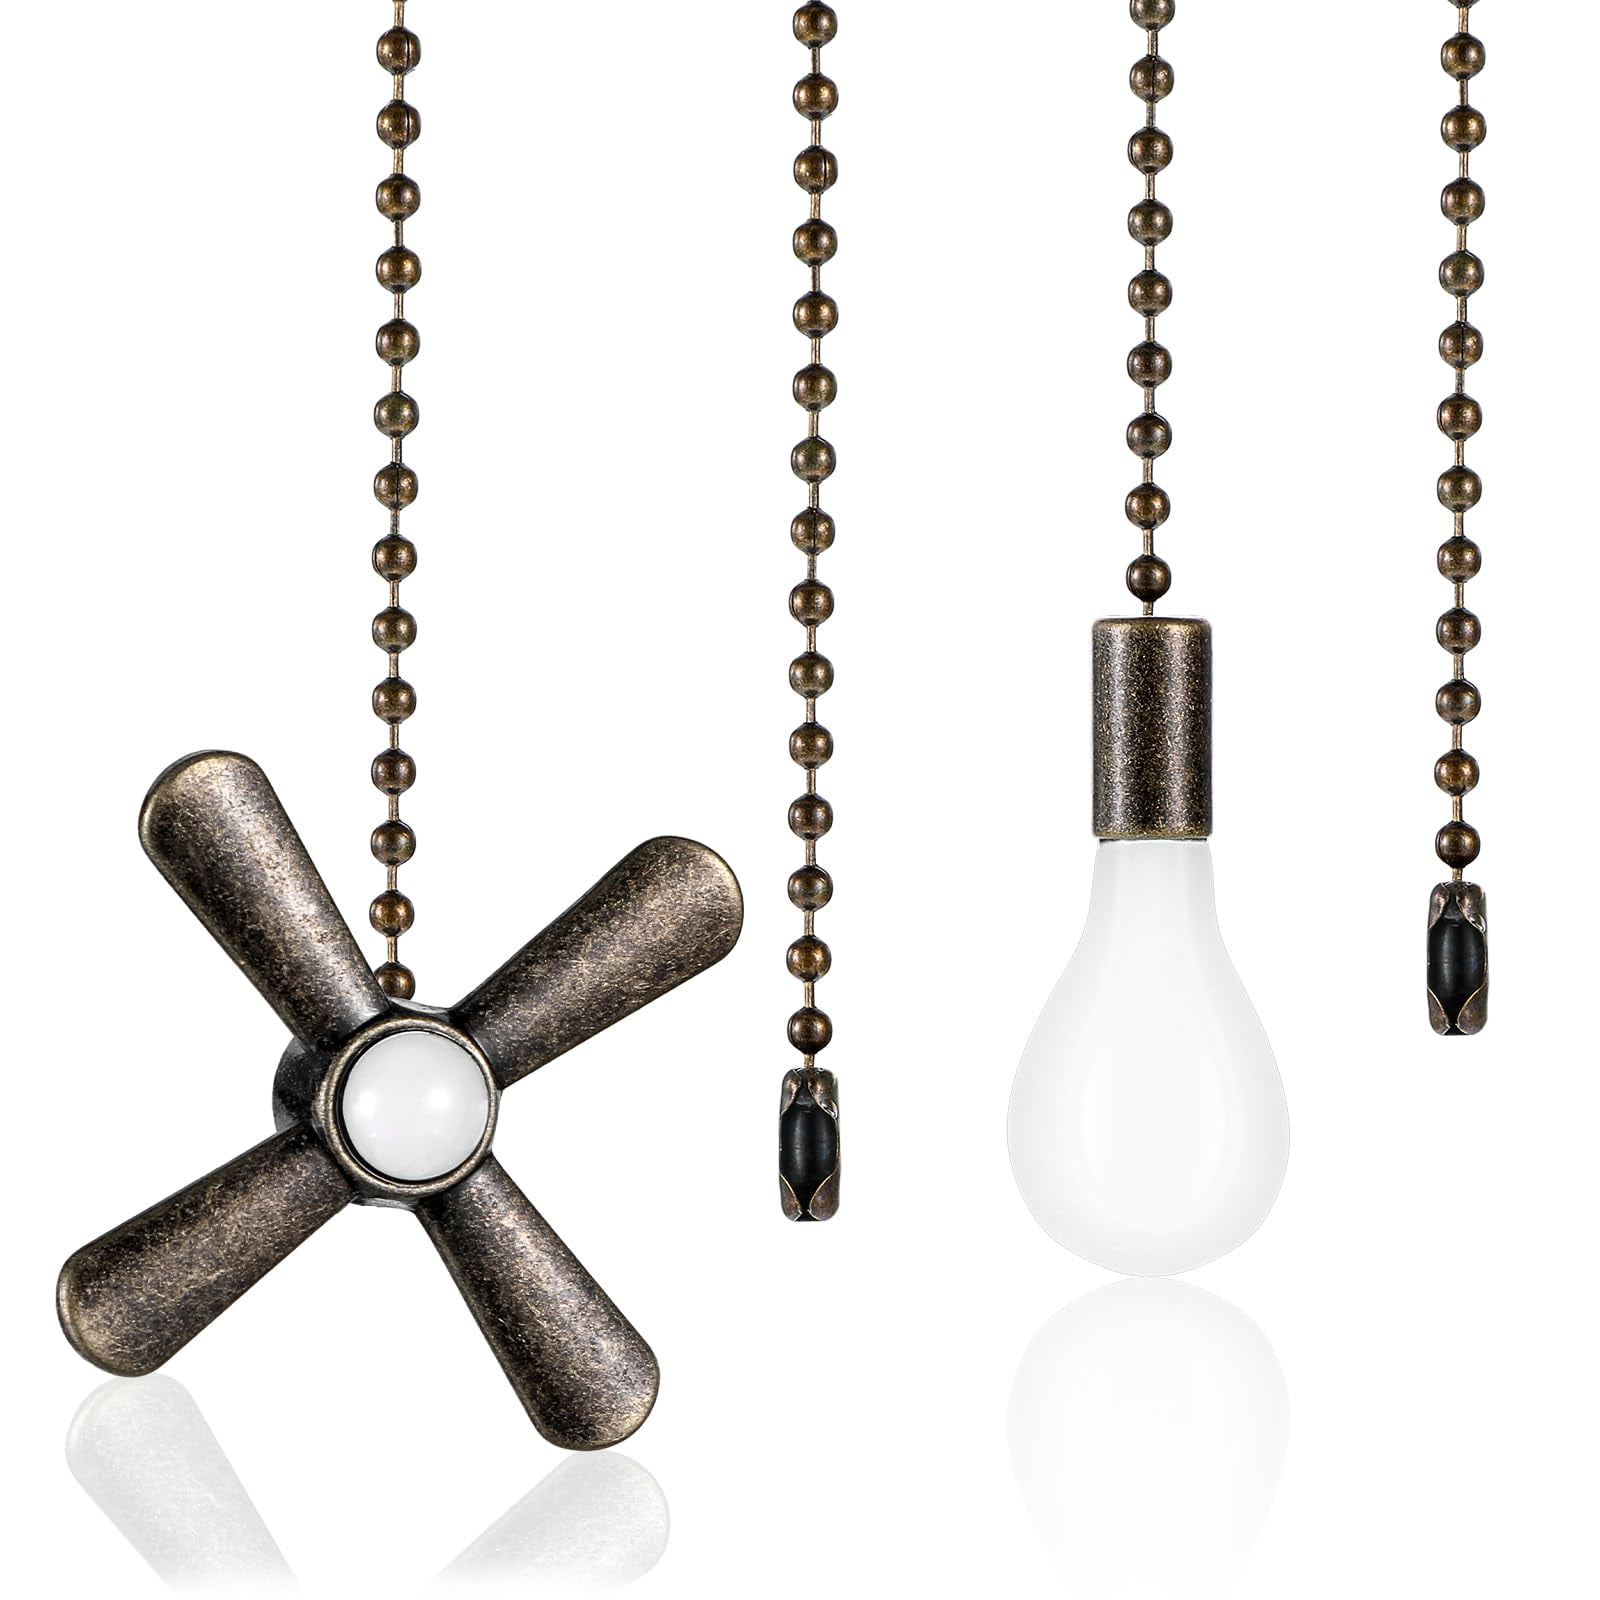
One of the easiest ways to add flair to your pull chain is by using beads and charms. You can choose from a variety of materials such as glass, wood, or metal. Consider mixing different shapes and sizes to create an eye-catching pattern.
- Glass beads can add a touch of elegance and sparkle.
- Wooden beads offer a warm, earthy feel, perfect for rustic or bohemian themes.
- Metal charms can bring a modern or industrial edge to your design.
Why not include a charm that holds sentimental value? A small token or trinket can make your decorative pull chain truly one-of-a-kind.
Paint And Finishes
Unleash your artistic side by painting the chain or adding finishes that complement your room’s décor. You might opt for bold colors to make a statement or subtle tones for a more refined look.
- Use metallic paints for a shiny, polished appearance.
- Consider matte finishes for a contemporary vibe.
- Experiment with color gradients for a unique visual effect.
Have you ever tried using glow-in-the-dark paint? It could be a fun and functional feature, especially in children’s rooms or creative spaces.
Personalized Touches
Personalization turns any project from generic to extraordinary. Consider adding initials, symbols, or designs that resonate with you. These touches make the pull chain an extension of your identity.
- Engrave or stamp a special date or name on a charm.
- Attach small photos or custom pendants to the chain.
- Create a theme that aligns with your interests, like sports or nature.
Have you ever thought about incorporating elements from your travels or hobbies? A small seashell from a memorable beach trip or a replica of your favorite gadget could add a delightful personal twist.
Credit: www.walmart.com
Assembling The Chain
Assembling the decorative pull chain is where your creativity meets functionality. This step transforms plain components into a unique piece that complements your overhead light. Paying attention here ensures your pull chain not only looks great but also works smoothly for everyday use.
Securing Decorations
Start by attaching your chosen decorations firmly to the chain links. Use small jump rings or split rings to connect charms, beads, or pendants securely. Make sure each decoration hangs freely without tangling, which keeps the chain easy to pull.
Try to space decorations evenly along the chain to maintain a balanced look. If you use heavier items, place them closer to the bottom to avoid strain on the upper links. Have you considered mixing different textures or colors to catch the eye?
Ensuring Durability
Durability is key for a pull chain you’ll use every day. Check all connections twice—loose parts can break or fall off quickly. Using pliers, tightly close jump rings and clips to prevent any decorations from slipping away.
Choose materials that withstand frequent pulling, like metal chains and sturdy plastic or metal charms. Avoid fragile decorations that might crack or chip. Think about how your pull chain will hold up over time and in your specific environment—does your light get a lot of use?
Installing The Pull Chain
Installing a decorative pull chain for your overhead light can instantly add charm and personality to any room. The process might seem tricky at first, but with a little patience, you can easily replace or upgrade your pull chain. Let’s break down the key steps to ensure your new chain works smoothly and looks fantastic.
Removing Old Chain
Before adding your new decorative pull chain, you need to carefully remove the old one. Most pull chains are attached with a small metal connector or a simple knot.
Start by turning off the power to the light fixture to avoid any accidents. Then, gently pull the old chain out of the socket or switch mechanism.
If the chain is stuck, use a pair of needle-nose pliers to loosen the connector. Avoid yanking too hard to prevent damage to the fixture.
Attaching New Chain Safely
Once the old chain is out, it’s time to attach your new decorative pull chain. Make sure the new chain is compatible with your light fixture’s mechanism.
Thread the chain through the same spot where the old one was removed. Secure it with the connector or knot, ensuring it sits tight but can still move freely.
Test the pull chain a few times to make sure the light turns on and off smoothly. If it feels stiff or gets stuck, double-check the connection and adjust as needed.
Have you noticed how the right pull chain can change the entire feel of a room? What style will you choose to make your space truly yours?
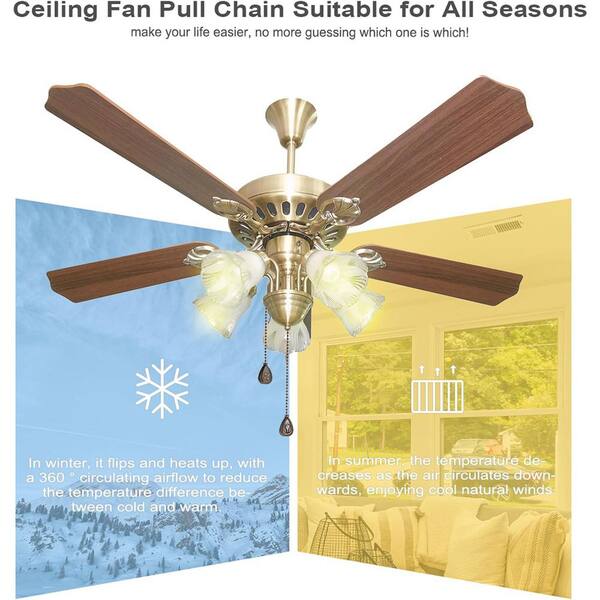
Credit: www.homedepot.com
Maintenance Tips
Maintaining your decorative pull chain keeps it looking fresh and working well. Regular care prevents dirt buildup and damage. Simple upkeep extends the life of your pull chain and keeps it attractive.
Cleaning The Chain
Dust and dirt can make the chain dull. Clean it gently with a soft cloth. Use mild soap mixed with water for tougher grime. Avoid harsh chemicals that can harm the finish.
- Turn off the light before cleaning
- Wipe the chain with a damp cloth
- Dry with a soft towel to prevent rust
- Clean regularly to avoid buildup
Repairing Damages
Chains can get tangled or break over time. Fix small issues early to avoid bigger problems. Replace damaged links or the entire chain if needed. Use pliers for bending or straightening metal parts carefully.
- Check for loose or broken links often
- Use jewelry pliers for repairs
- Replace the chain if repair is not possible
- Keep spare parts handy for quick fixes
Frequently Asked Questions
What Materials Are Needed To Make A Decorative Pull Chain?
You need a pull chain, decorative beads or charms, pliers, jump rings, and strong adhesive. These materials help customize your overhead light pull chain easily.
How Do I Safely Remove The Old Pull Chain?
Turn off the light and power source first. Use pliers to gently detach the old pull chain from the fixture without damaging wires or housing.
Can I Customize Pull Chains For Different Light Styles?
Yes, you can choose beads, charms, or colors that match your room decor. Customizing pull chains personalizes your overhead light’s appearance.
How Long Does It Take To Make A Decorative Pull Chain?
Typically, it takes about 15 to 30 minutes depending on your design complexity and skill level. It’s a quick and simple DIY project.
Conclusion
Creating a decorative pull chain adds a personal touch to any room. It’s simple and fun to make with just a few materials. You can choose colors and styles that match your space. This small project brightens your overhead light and your mood.
Try making one today and enjoy the difference it brings. A little effort goes a long way in home decor. Keep experimenting and have fun with your designs. Your overhead light will look unique and inviting.