Are you looking to add a unique touch to your holiday decorations this year? Imagine creating a beautiful outdoor fur tree that brings warmth and charm to your home’s entrance.
This DIY project is easier than you think, and you don’t need to be a crafting expert to pull it off. In this guide, you’ll discover simple steps to make your very own outdoor fur tree decoration that will impress your neighbors and make your holidays feel extra special.
Ready to get started? Let’s dive in!
Credit: www.extraspace.com
Choosing The Right Materials
Choosing the right materials sets the foundation for your DIY outdoor fur tree holiday decoration. The materials you pick will affect not only the look of your decoration but also its durability and ease of assembly. It’s important to balance aesthetics with practicality to ensure your creation lasts through the season.
Selecting Faux Fur Options
Faux fur comes in many varieties, but not all are suited for outdoor use. Look for options labeled as weather-resistant or outdoor-friendly to avoid fur that mats or deteriorates quickly when exposed to moisture. Thicker, denser faux fur often holds up better and adds a rich texture that mimics real fur beautifully.
Consider the color and length of the fur fibers. Shorter fibers tend to withstand wind better, while longer fibers give a fluffy, cozy appearance. Have you tested how the fur feels after rain or snow? This simple check can save you from disappointment later.
Gathering Basic Craft Supplies
Beyond the fur, you’ll need a few essential supplies to bring your decoration to life. Strong glue or a hot glue gun is crucial for attaching fur securely to the frame. Don’t forget scissors designed for fabric to get clean cuts without fraying.
Other useful items include wire or zip ties for extra reinforcement, and a sturdy base or frame to shape your tree. Gathering these supplies beforehand helps you avoid last-minute trips and keeps your project running smoothly.
Considering Weather-resistant Elements
Your outdoor decoration will face wind, rain, and possibly snow. Materials like waterproof fabric backing, rust-proof wire, and UV-resistant paints can make a big difference in longevity. Would you rather replace parts each year or invest a bit more now to keep your decoration intact?
Adding a protective spray to your fur can help repel moisture and dirt. Also, think about how you’ll secure the decoration to prevent it from blowing away or tipping over in strong winds. Planning for weather resistance keeps your work looking fresh and festive all season long.

Credit: www.facebook.com
Preparing The Base Structure
Preparing the base structure is the first key step in making a DIY outdoor fur tree holiday decoration. A solid foundation supports the entire project and helps keep the tree stable outdoors. Take time to build a strong frame that holds the shape and withstands wind and weather.
Choosing the right materials and shaping the base carefully sets the tone for the final look. The base should be firm yet flexible enough to adjust as you add fur and decorations. This section covers building a sturdy frame, using recycled items for support, and shaping the tree form.
Building A Sturdy Frame
Start by selecting durable wood or metal rods for the frame. These materials resist bending and hold weight well. Cut the pieces to form a cone or triangular shape that mimics a tree’s outline. Join the pieces securely with screws, nails, or strong glue.
Use a level or measuring tape to ensure symmetry. A balanced frame prevents leaning and tipping. Check stability by gently shaking the frame before moving on.
Using Recycled Items For Support
Look around for recycled materials to add strength and save costs. Old wire hangers, broken garden stakes, or scrap wood work well. Bend wire hangers into curved shapes and attach them inside the frame for extra support.
Stack and tie scrap wood pieces at the base to create a wider, stable platform. Use zip ties or twine to fasten all parts tightly. Recycling helps the environment and adds unique charm.
Shaping The Tree Form
Once the frame is sturdy, refine its shape to resemble a real fur tree. Add smaller crossbars or branches from thin sticks for a natural look. Use wire or string to attach these elements evenly around the frame.
Trim any uneven parts and smooth sharp edges. The more precise the shape, the easier it is to attach fur and decorations later. Aim for a balanced, full appearance that mimics a lush holiday tree.
Attaching The Fur
Attach the fur securely by wrapping it around the tree frame. Use hot glue or strong tape to hold the fur in place. Make sure the fur covers all gaps for a full, festive look.
Creating your own DIY outdoor fur tree holiday decoration is not only a fun activity but also a chance to add a personalized touch to your festive décor. Attaching the fur is a crucial step that brings warmth and texture to your holiday masterpiece. Let’s dive into how you can achieve a seamless fur attachment, ensuring your tree stands out beautifully in your yard.Cutting And Measuring Fur Pieces
Begin by measuring the frame of your tree to determine how much fur you’ll need. It’s best to use a measuring tape for accurate dimensions. Cut the fur into manageable pieces that are slightly larger than the areas you plan to cover. This allows you to trim down any excess once the fur is attached. Choose a color and texture that complements your overall theme. Faux fur comes in various styles, so pick one that enhances your outdoor aesthetic.Securing Fur To The Frame
Start at the base of the tree and work your way upwards. Use a strong adhesive, like a hot glue gun, to attach the fur pieces securely to the frame. Ensure each piece is tightly pressed to prevent it from detaching due to wind or rain. For added security, you might consider using small nails or pins in areas that are prone to more movement. Work systematically, section by section, ensuring each piece is aligned properly before moving to the next.Ensuring Full Coverage
Once the fur is secured, inspect your tree from different angles. Look for any gaps or areas where the frame is visible. Fill in these spaces with smaller strips of fur or decorative elements like ribbons or ornaments. Consider the lighting in your yard—are there shadows that might make gaps more noticeable? Adjust accordingly to achieve a full, lush appearance. Your fur tree should look inviting and cozy, even from a distance. Is there a particular detail that makes your tree unique? Highlight it with strategic fur placement.
Credit: www.youtube.com
Adding Decorative Touches
Adding decorative touches brings your DIY outdoor fur tree holiday decoration to life. These details create warmth and charm. They help your tree stand out in any outdoor space. Simple additions can make a big impact. Choose decorations that match your style and the holiday spirit.
Incorporating Lights
Lights add a magical glow to your fur tree. Use battery-operated or solar string lights for easy setup. Wrap them evenly around the branches. Opt for warm white lights for a cozy feel. Colored lights work well for a playful look. Make sure lights are safe for outdoor use.
Using Ornaments And Ribbons
Ornaments bring color and personality to your tree. Pick lightweight ornaments to avoid weighing down branches. Hang them at different heights for balance. Ribbons add texture and movement. Choose wide ribbons in festive colors. Tie them in bows or weave through branches for style.
Adding Natural Elements
Natural touches blend your decoration with the outdoors. Pinecones, berries, and dried orange slices work perfectly. Attach pinecones with twine or hot glue. Place berries in small clusters for pops of color. Dried oranges add a rustic, fragrant element. These items make your tree feel fresh and inviting.
Placing And Maintaining Your Decoration
Placing and maintaining your DIY outdoor fur tree holiday decoration correctly can extend its life and keep it looking fresh throughout the season. Thoughtful placement not only enhances your yard’s festive vibe but also protects your handiwork from harsh weather. Taking a few simple steps can make a big difference in how your decoration performs and how easily you can reuse it next year.
Choosing The Perfect Outdoor Spot
Find a location that offers some natural protection, like near a porch or under a large tree. Avoid places where strong winds are common, as they can cause your decoration to shift or get damaged. Also, consider visibility—placing your fur tree where guests and neighbors can easily see it boosts the festive cheer.
Think about sunlight exposure too. Direct, intense sun may fade colors, while too much shade could encourage moisture buildup. A spot with moderate sunlight and good airflow is ideal. Have you noticed how some decorations look vibrant all season while others fade quickly? Placement plays a big role in that.
Protecting From Weather Damage
Weather can be tough on outdoor decorations, especially those with delicate materials like faux fur. Use waterproof sprays or sealants to add a protective layer. You can also anchor your decoration securely to prevent it from tipping over during storms.
Check the decoration regularly for signs of wear or damage. Wiping off dirt and moisture after rainstorms can prevent mold or mildew. Covering your fur tree with a breathable tarp when severe weather is expected can save you from costly repairs later.
Storage Tips For Reuse
After the holiday season, proper storage is key to keeping your decoration in good shape. Clean the fur tree gently to remove dust and debris before packing it away. Avoid stuffing it into a tight space; instead, use a large box or storage bin that allows the decoration to keep its shape.
Store in a cool, dry place away from direct sunlight and pests. Label your storage container clearly so you can find your decoration easily next year. Have you ever dug through a messy pile of decorations only to find some ruined? Organized storage prevents that frustration.
Creative Variations To Try
Creative variations bring life to your DIY outdoor fur tree decoration. They let you express your style and fit any space. Small changes can create a big impact. Explore ideas that suit your taste and holiday mood.
Miniature Fur Trees
Create small fur trees to decorate tabletops or porch railings. Use twigs or wire frames as bases. Wrap green fur fabric or yarn around the frames. Add tiny ornaments or glitter for charm. Group several mini trees for a festive cluster.
Themed Color Schemes
Choose color themes for a unique look. Classic red and green evoke holiday spirit. Silver and gold add sparkle and elegance. Soft pastels offer a gentle, modern touch. Stick to one or two colors for a neat design.
Combining Multiple Decorations
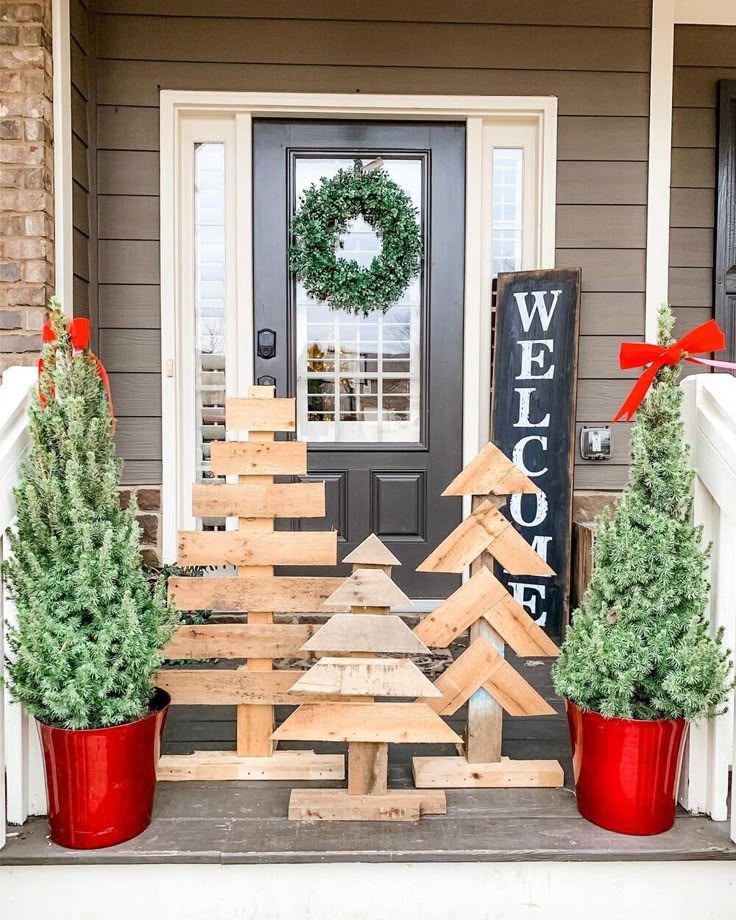
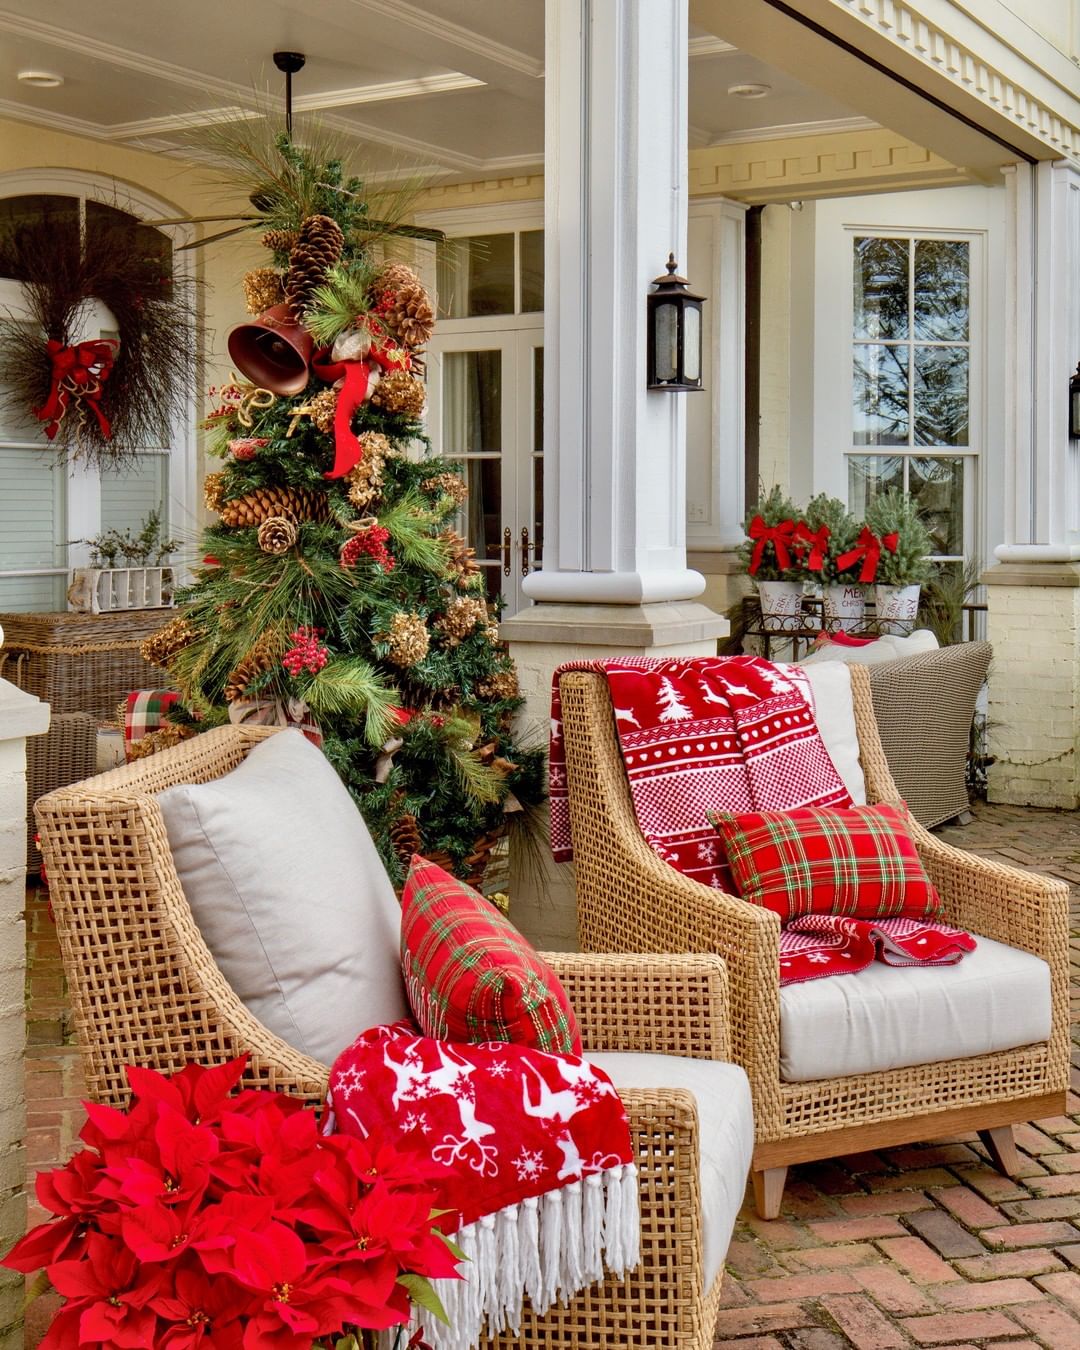
Mix your fur trees with other decorations for variety. Pair with pinecones, fairy lights, or lanterns. Use wooden signs or wreaths to enhance the scene. Arrange items in layers for depth and interest. This creates a warm, inviting holiday display.
Frequently Asked Questions
What Materials Are Needed For A Diy Outdoor Fur Tree?
You need faux fur fabric, sturdy wire frame, weather-resistant glue, outdoor lights, and waterproof paint. These materials ensure durability and a festive look for your outdoor holiday decoration.
How Do You Protect The Fur Tree From Weather Damage?
Use waterproof paint and weather-resistant glue to protect the tree. Place the decoration in a sheltered area to minimize exposure to rain and wind.
Can I Add Lights To My Diy Fur Tree?
Yes, LED string lights work best. They are energy-efficient, safe for outdoor use, and add a warm glow to your holiday decoration.
How Long Does It Take To Make An Outdoor Fur Tree?
It typically takes 2-4 hours, depending on your crafting experience. Preparation and drying times may extend the total project duration.
Conclusion
Creating a DIY outdoor fur tree decoration is fun and simple. You only need a few materials and some patience. This project adds charm to your holiday space. It saves money and lets you personalize your décor. Enjoy crafting with family or friends for extra joy.
Your outdoor area will feel warm and festive. Try different styles to match your taste. Celebrate the season with your unique, handmade decoration. Happy decorating!